


e??¡§??? Refurbished QY6-0085 Printhead


e??| What's Included
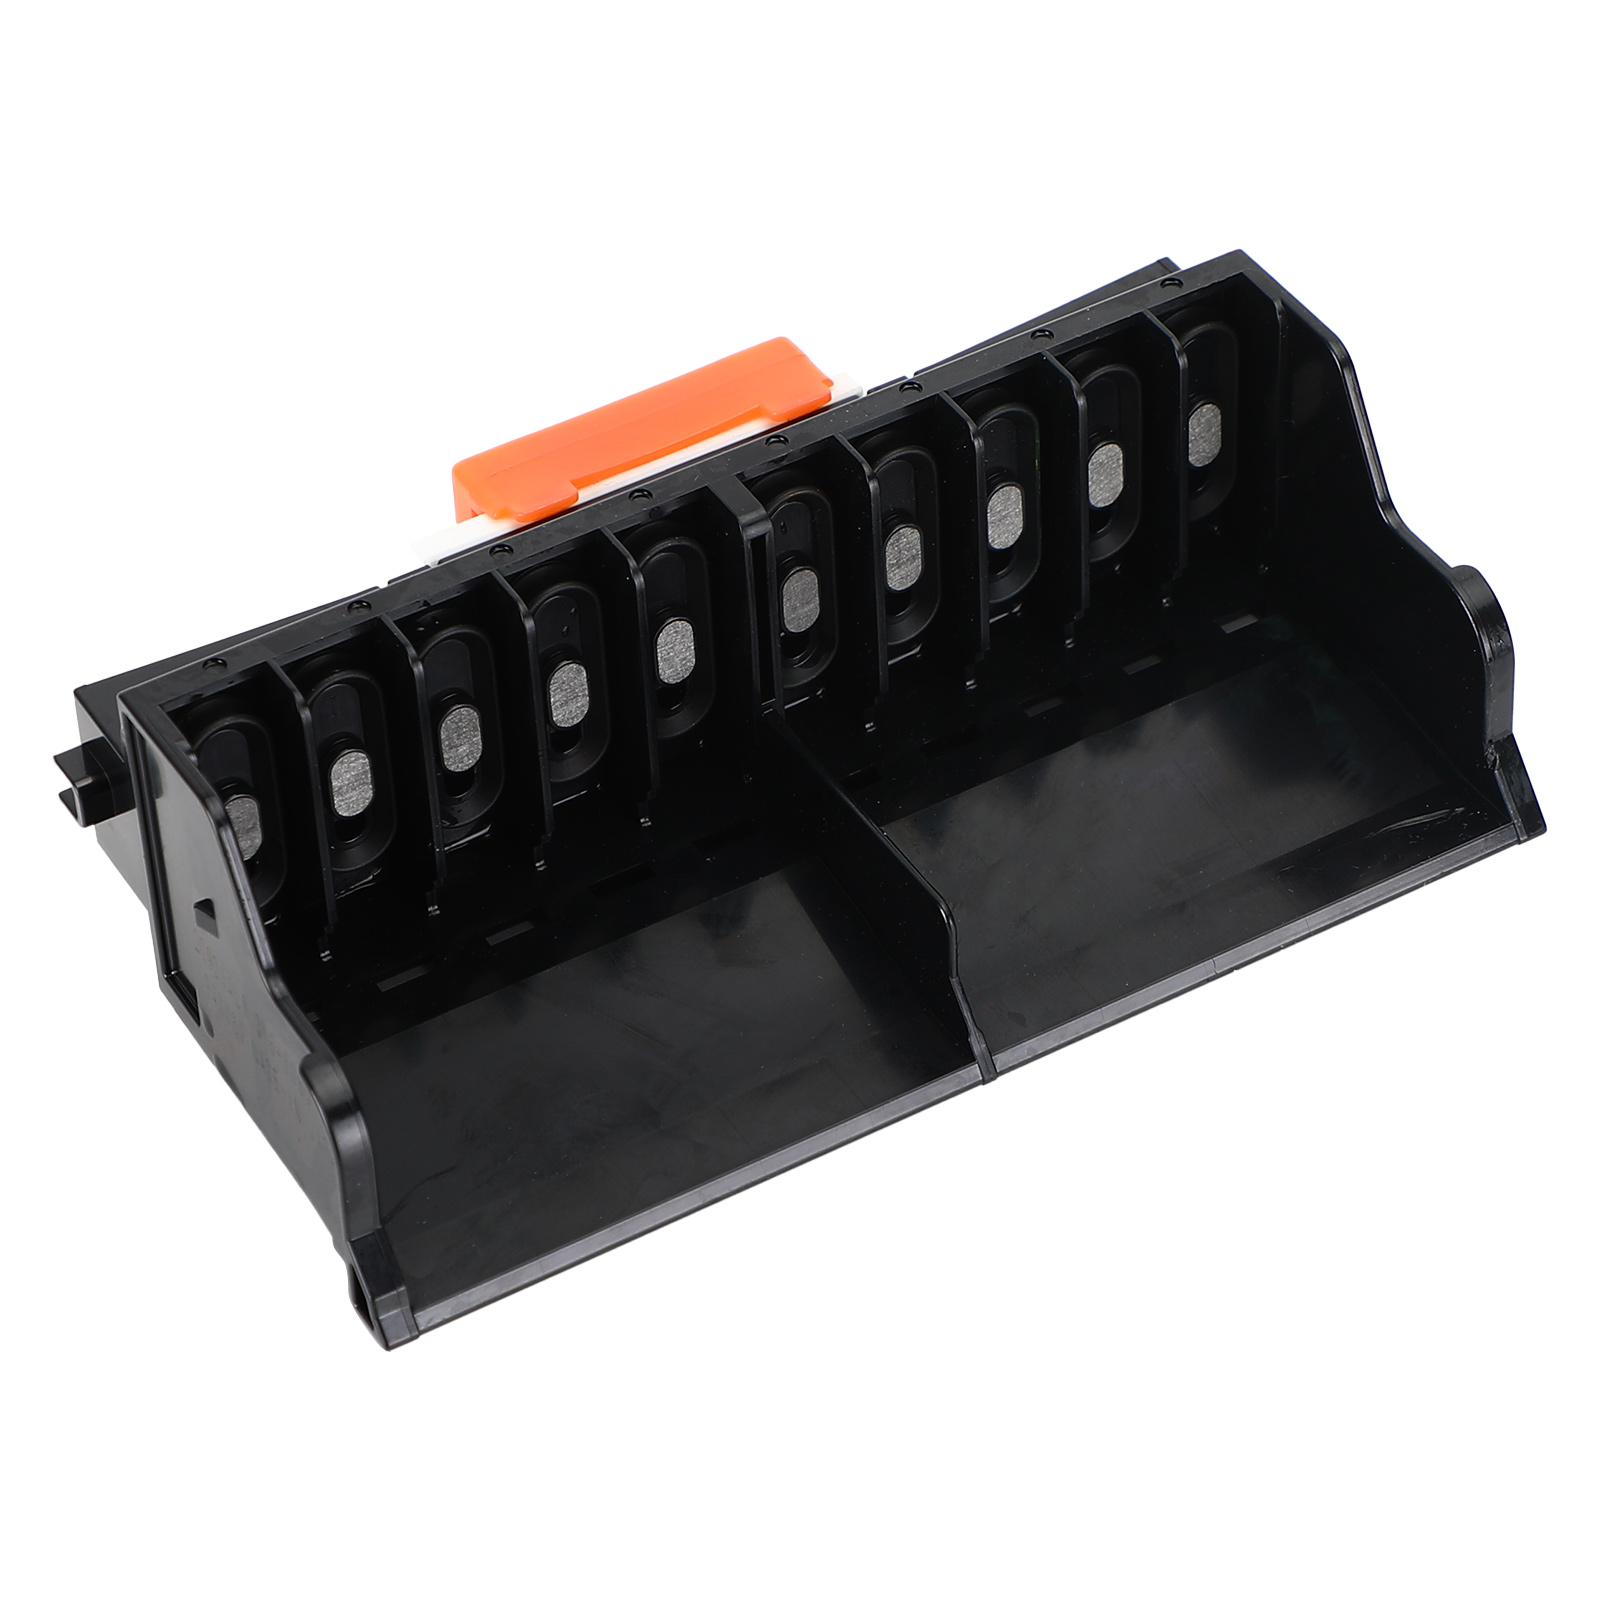
1 ?? QY6-0085 Refurbished Printhead
Tested, Sealed, Ready to Use
e??? Shipping & Warranty
Free Shipping: Fast delivery within 3a??8 business days
60-Day Returns: Return accepted within 60 days of delivery
Support: Lifetime customer service and replacement assistance
a????? Important Notes Before Installation
- Turn Off Power Before Installation: Always turn off the printera??s power before installing the printhead to avoid damaging the mainboard. e???
- Initial Run-In Period: After installing the printhead, do not install the ink ribbon immediately. First print at least 10 A4 pages to allow proper run-in. Then install the ribbon. e???
- Check for Previous Damage: If your original printhead was leaking ink or damaged, the mainboard might already be affected. Please inspect and confirm the mainboard is working before replacing. e??????
- Fuse Replacement Caution: If replacing a fuse (F1 or F2) on the mainboard, use only the same model and current rating. Using incorrect fuses may damage both the printhead and the mainboard. a??
- Professional Installation Recommended: Printheads are delicate and costly. Incorrect installation can cause permanent damage. If you're not confident, seek help from a technician or service center. e???
a????? Before You Install a?? Please Read Carefully
-
Do NOT Inject Water into the Printhead: Never use a syringe to flush the printhead with water. This can:
- Wash away the factory-applied protective fluid
- Introduce air blockages
- Cause short circuits if powered on while wet
- Power Off Before Installation: Always turn off the power before installing the printhead. Ensure the printhead is firmly and correctly seated. e???
- Clean, Dry Cable Connections: Avoid any ink or moisture on the cable plug or socket. Ensure secure, clean connections to prevent contact failure. e???
- Lubricate the Steel Shaft Properly: Wipe the shaft with a paper towel dipped in a small amount of lubricant. Do not pour oil directlya??excess oil can damage the printhead. e??????
-
Check Ink System:
- Ensure ink cartridges are not empty
- Check the cleaning blade and suction pump for dirt or clogs e?¡ì?
-
Initial Printhead Air Discharge Process: New printheads contain air and may not print clearly at first. To remove trapped air:
- Use the printera??s cleaning function twice
- Wait 30 minutes, then clean twice again
- Avoid excessive cleaninga??it may cause ink mixing, leaks, or waste
- Print full-color images to help discharge air naturally e??¡§???
a?? Pro Tip: If youa??re not confident with installation, ita??s strongly recommended to have a technician perform the replacement to avoid damage or voided warranty.
a?? FAQ
Refurbished Print Head Printhead For Pro10 Pro 10 Pro-10 QY6-0085
We offer FREE shipping on all orders within the US. Orders are typically processed within 1-2 business days. If you are not completely satisfied with your purchase, you can return it within 30 days of delivery for a full refund or exchange.
e??¡§??? Refurbished QY6-0085 Printhead
e??| What's Included
1 ?? QY6-0085 Refurbished Printhead
Tested, Sealed, Ready to Use
e??? Shipping & Warranty
Free Shipping: Fast delivery within 3a??8 business days
60-Day Returns: Return accepted within 60 days of delivery
Support: Lifetime customer service and replacement assistance
a????? Important Notes Before Installation
- Turn Off Power Before Installation: Always turn off the printera??s power before installing the printhead to avoid damaging the mainboard. e???
- Initial Run-In Period: After installing the printhead, do not install the ink ribbon immediately. First print at least 10 A4 pages to allow proper run-in. Then install the ribbon. e???
- Check for Previous Damage: If your original printhead was leaking ink or damaged, the mainboard might already be affected. Please inspect and confirm the mainboard is working before replacing. e??????
- Fuse Replacement Caution: If replacing a fuse (F1 or F2) on the mainboard, use only the same model and current rating. Using incorrect fuses may damage both the printhead and the mainboard. a??
- Professional Installation Recommended: Printheads are delicate and costly. Incorrect installation can cause permanent damage. If you're not confident, seek help from a technician or service center. e???
a????? Before You Install a?? Please Read Carefully
-
Do NOT Inject Water into the Printhead: Never use a syringe to flush the printhead with water. This can:
- Wash away the factory-applied protective fluid
- Introduce air blockages
- Cause short circuits if powered on while wet
- Power Off Before Installation: Always turn off the power before installing the printhead. Ensure the printhead is firmly and correctly seated. e???
- Clean, Dry Cable Connections: Avoid any ink or moisture on the cable plug or socket. Ensure secure, clean connections to prevent contact failure. e???
- Lubricate the Steel Shaft Properly: Wipe the shaft with a paper towel dipped in a small amount of lubricant. Do not pour oil directlya??excess oil can damage the printhead. e??????
-
Check Ink System:
- Ensure ink cartridges are not empty
- Check the cleaning blade and suction pump for dirt or clogs e?¡ì?
-
Initial Printhead Air Discharge Process: New printheads contain air and may not print clearly at first. To remove trapped air:
- Use the printera??s cleaning function twice
- Wait 30 minutes, then clean twice again
- Avoid excessive cleaninga??it may cause ink mixing, leaks, or waste
- Print full-color images to help discharge air naturally e??¡§???
a?? Pro Tip: If youa??re not confident with installation, ita??s strongly recommended to have a technician perform the replacement to avoid damage or voided warranty.
a?? FAQ

Refurbished Print Head Printhead For Pro10 Pro 10 Pro-10 QY6-0085
$120.78